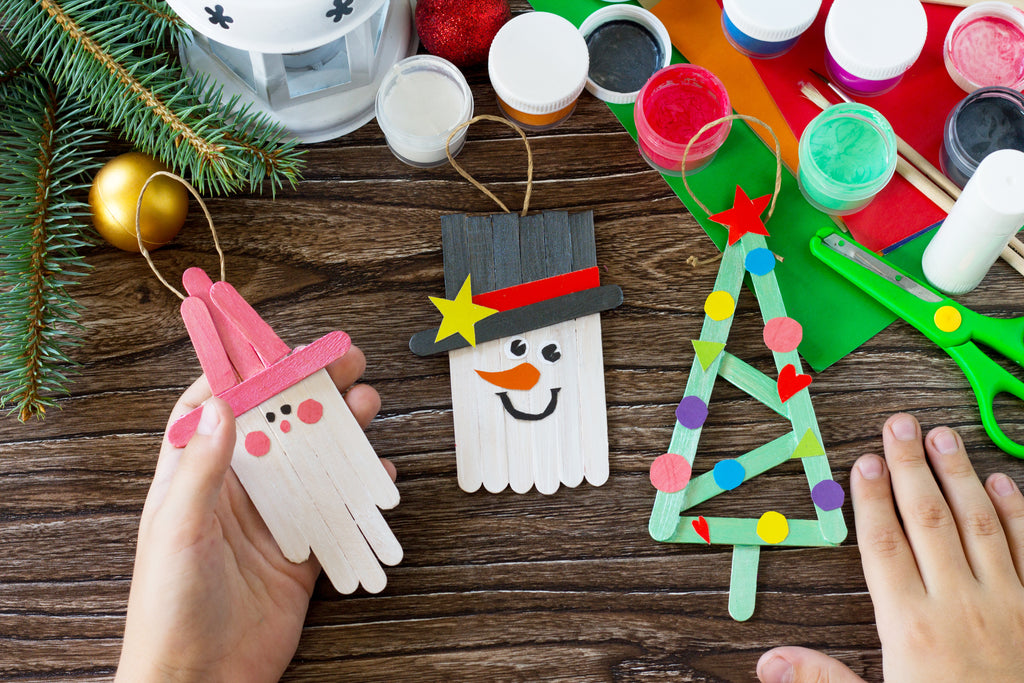
Making DIY Christmas gifts for their friends and family has always been one of my kids’ favorite things to do. They take such pride in each part of the process that they have a hand in. So here are some ideas for your family to consider while making gifts this year!
Handprint Gifts
Kids grow so fast! How sweet it is to look back at their little handprints!? I used to think the pricelessness of these handprints could make anything a beautiful gift. So one year I bought wooden candy cane yard stakes and painted them white. I then dipped the kids’ little hands in Christmas-red paint to create the candy stripes for their grandparents.
I envisioned it looking like something taken right from a gingerbread house. Instead it looked like it was straight out of a crime scene. Christmas-red looks a lot like blood-red. And in the end, the candy canes looked like a Halloween decoration.
But my mother, being a devoted grandmother, still puts them out every year. I cringe when I see them. But it just goes to show: grandparents love things with their grandbabies little handprints!
But you don’t need to settle for a crime scene craft. There are many, MANY better ideas! Thankfully, I craft and learn from my mistakes!

Our friends over at the North Pole TImes Craft Room offers up instructions for an adorable Handprint Christmas Wreath.
Your kids will trace their hands in shades of green and glue them on a paper plate frame. The full instructions can be found here. And I promise you, it will look so much more jolly than my candy canes. It is a craft that is easy enough to do each year (see how quickly your kids grow!) and festive enough to display proudly.
Baked Goods
I am known for my homemade toffee. The kids always wanted to help but candy making can be a little tricky. The hard crack stage temperature of candy is a little high for smaller kids. And candy making leaves little room for error, which can frustrate them if they are first starting out in the kitchen. So I suggest fudge! It is much easier to make than people think and your kids will be so proud!
I was excited to see a recipe similar to the one we use over at Mrs. Claus’ Kitchen:

Dark Fudge
By Ali Elf
- 3 cups (18 oz.) semi-sweet chocolate chips
- 1 (14 oz.) can sweetened condensed milk (NOT evaporated milk)
- dash salt
- 1 cup shelled California walnuts, chopped (opt.)
- 1 1/2 tsp. vanilla extract
- In a heavy saucepan, over low heat, melt chips with sweetened condensed milk and salt.
- Remove from heat; stir in walnuts and vanilla.
- Spread evenly into wax paper-lined 8 or 9-inch square pan.
- Chill 2 hours or until firm.
- Turn fudge onto a cutting board; peel off paper and cut into squares.
- Store loosely covered at room temp.
And here is my mom tip: You can use any flavor chocolate chips your heart desires. My kids love comparing and contrasting the different flavors that are created when we use a new type of chip. And then they think about what other people would like so the gift becomes personal to their likes or preferences.
Soap & Candles
When I try to come up with ideas for things my kids can make for their teachers, grandparents and aunts I often wonder if they feel how I feel about stuff. I have too much of it and it stresses me out. So, in honor of that I like to make things that they can admire than use up, so it doesn’t take up space.
Soap is great, and it can be an easy process. For simplicity, I use glycerin blocks that you can find at most craft stores. Let your children pick out the color, fragrance, and molds. My daughter even found some soap gitter that she fell in love with!
For molds, I actually found cheap silicone mini cake baking molds that were shaped like gingerbread men and snowflakes that were the perfect size for guest soaps. And because they were meant for baking, I knew they would hold up to the melted glycerin.
Put the glycerin in oven proof measuring cups (or oven-proof bowls) and place them in your crock pot. Cover and cook on high for an hour.
Using oven mitts, the adult will take them out and let the kids carefully add fragrance (only a little) and the color. Mix with a wood skewer. Then the adult slowly fills the molds. Let them cure for a few hours.
We bought little festive snack bags to fill with the soaps. That way the kids could choose which soap went to each person. They were so proud to tell each person they picked their favorite color or fragrance for them.
And as for candles, we do not make them. We just decorate them with the children’s artwork. I use white pillars or votive candles. The kids draw with markers on a piece of white tissue paper. Make sure the drawing isn’t taller than the candle. Trim the drawing as much as you can without cutting into the art. Place it on the candle, and wrap the art and the candle with wax paper. Give yourself enough wax paper to give you something to grip on to.
Now get out your blow dryer and turn it on (on high). Aim the air toward the design for about 90 seconds. Slowly peel back the wax paper. If the tissue paper starts to come up, gently wrap it again and give it another round with the blow dryer.
And then you will have a personalized candle for gifting!
Creating gifts for their loved ones can be one of the first experiences your kids have being Santa Claus! So have fun and let them take pride in however they help.
For proof that Santa is real, pick up one of our magical Santa Proof Kits.

